Disclosure: This post may contain affiliate links, which means I may earn a commission if you click on the link and make a purchase.
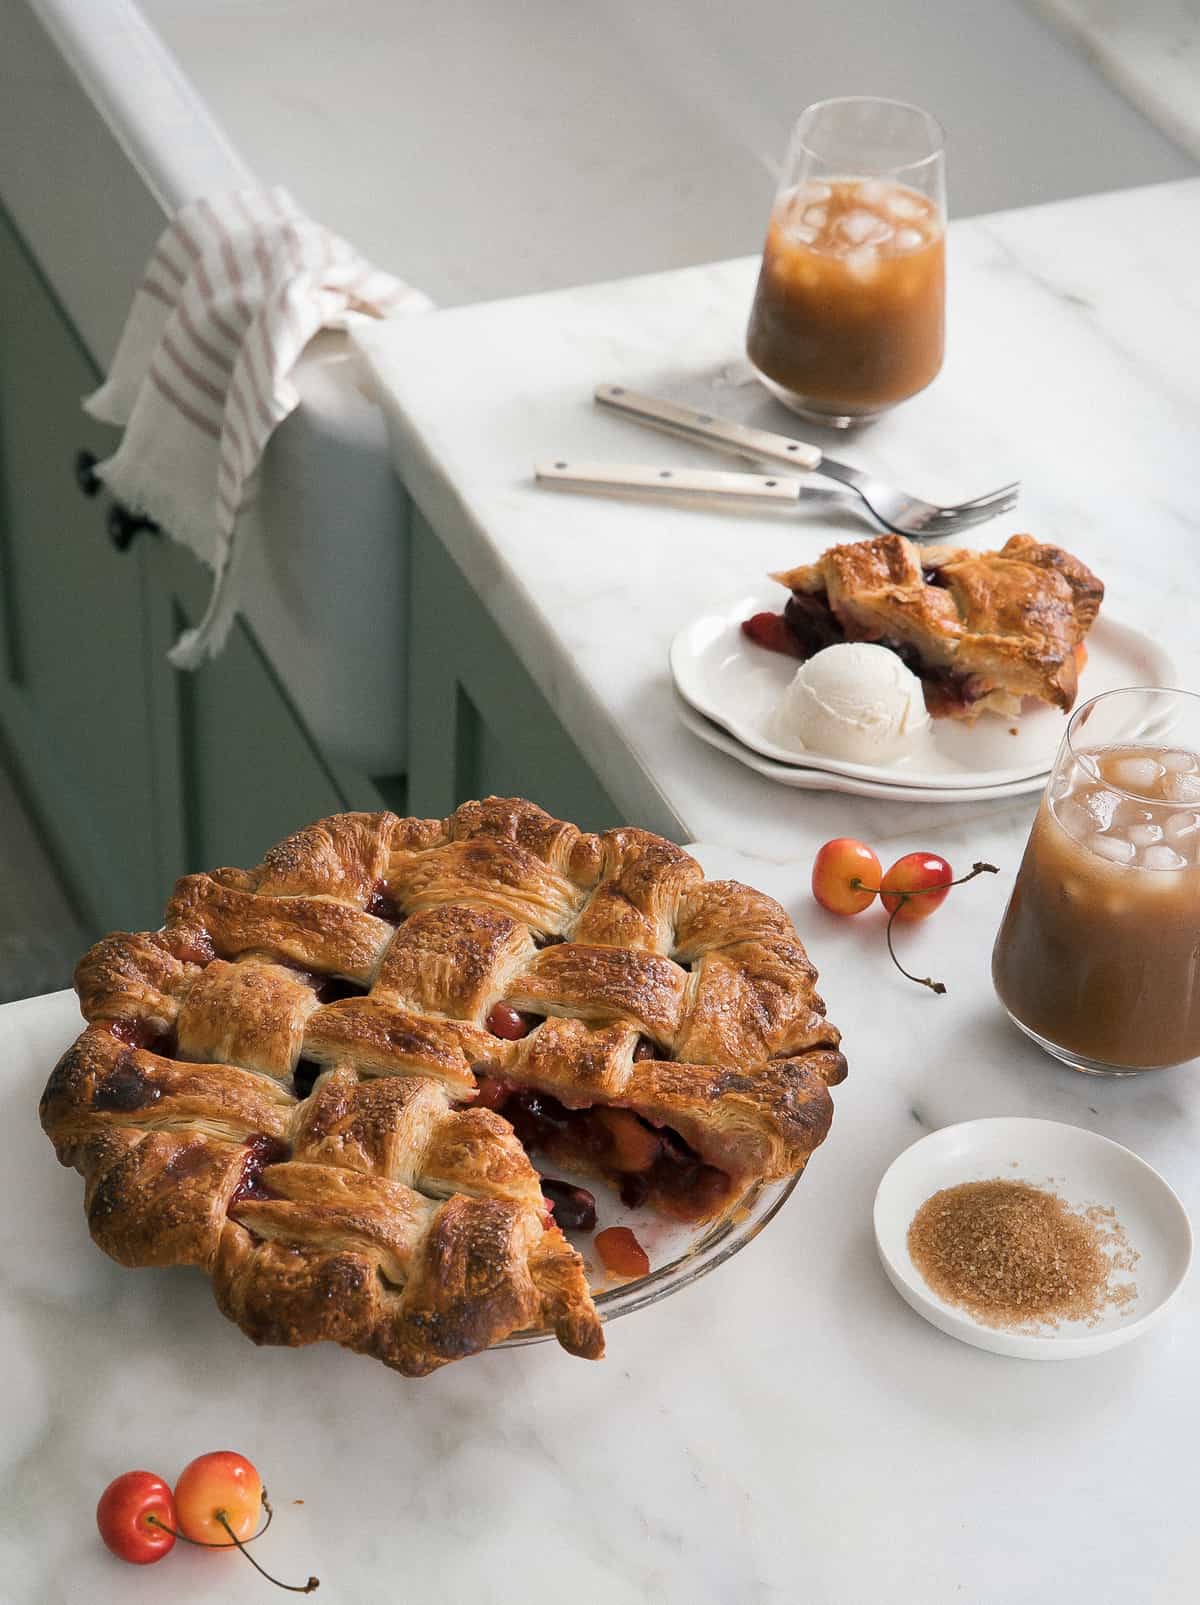
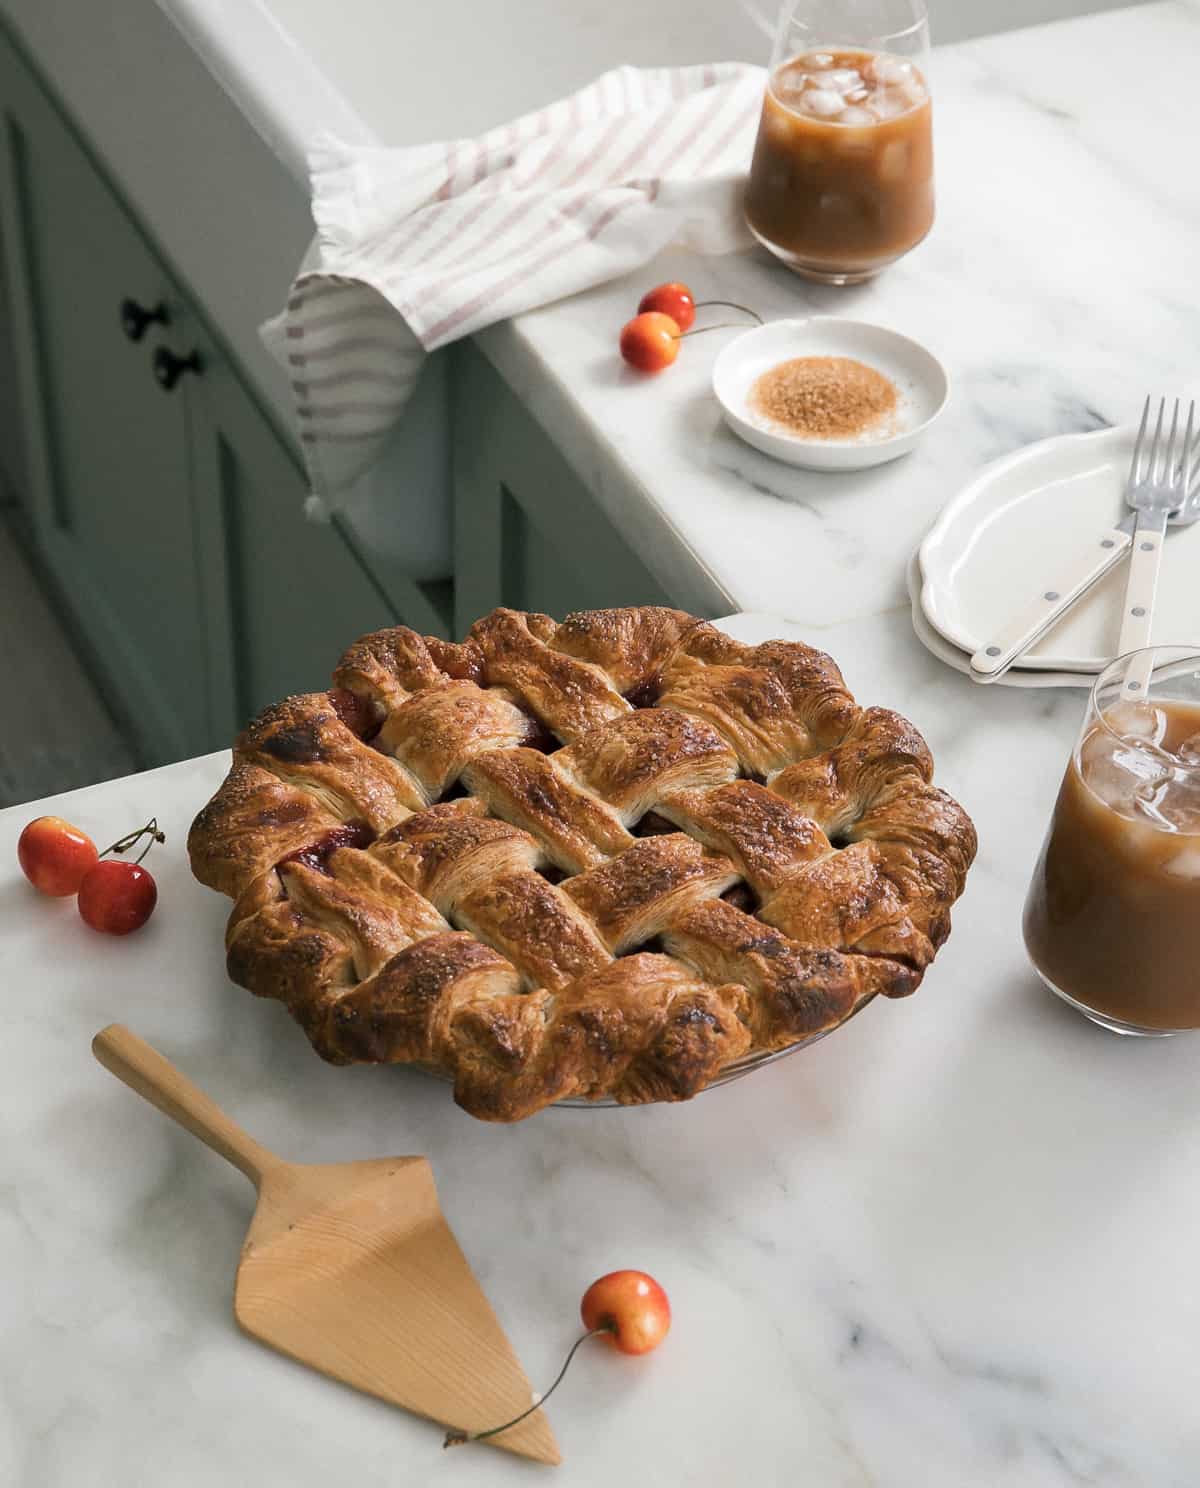
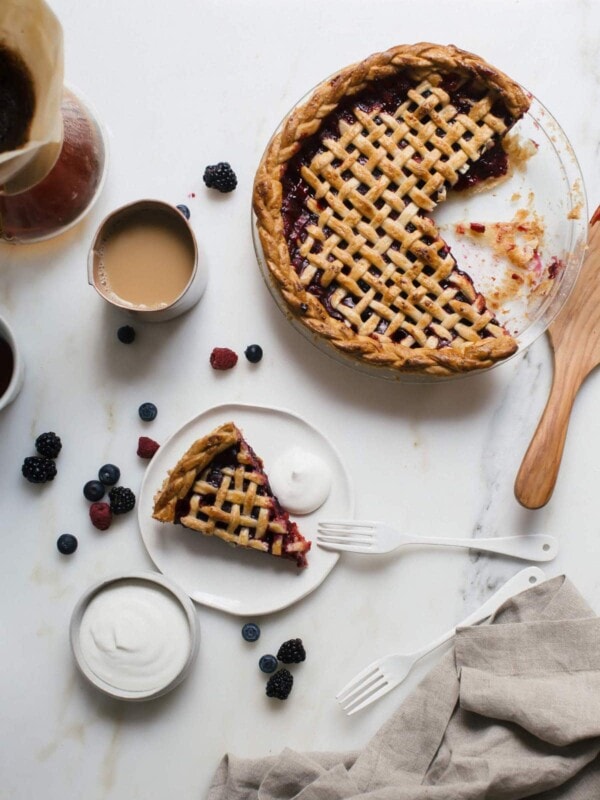
This Classic Cherry Pie is truly the perfect summer dessert. A flaky, all-butter pie crust is perfectly paired with a fresh cherry filling that has just the right amount of sweet and tart flavors. Once you’ve made the crust, this pie is super simple to put together with fresh cherries and pantry staple ingredients! Serve with a Seven Layer Pasta Salad or Heirloom Tomato Pizza for you next summer bbq or picnic!
If you love pie, this Homemade Pie Crust Guide will help you achieve the perfect pie crust every time!
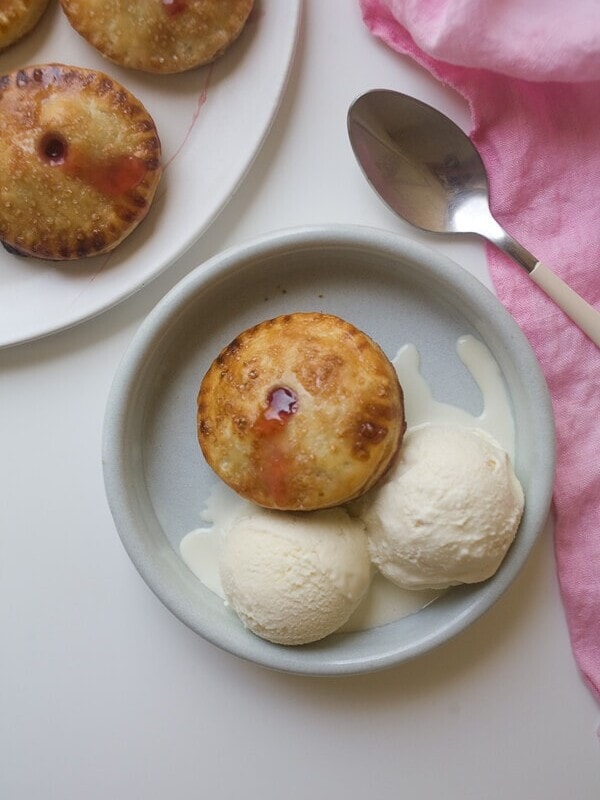
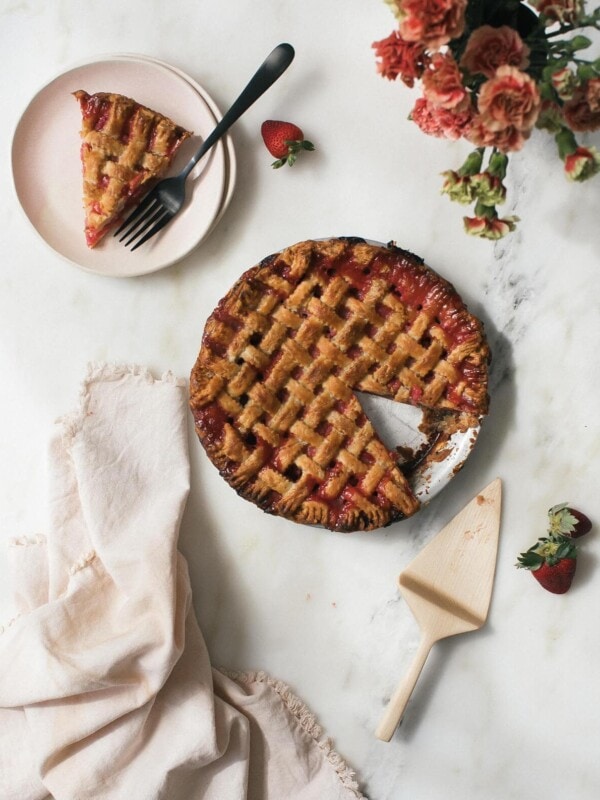
Classic and simple desserts are some of the best desserts! I don’t know if there is anything better than a Homemade Apple Pie, these Sour Cherry Hand Pies, or a rich Mini Chocolate Sheet Cake. They are all perfect for summer and everyday in between!
Ingredients You’ll Need For This Classic Cherry Pie
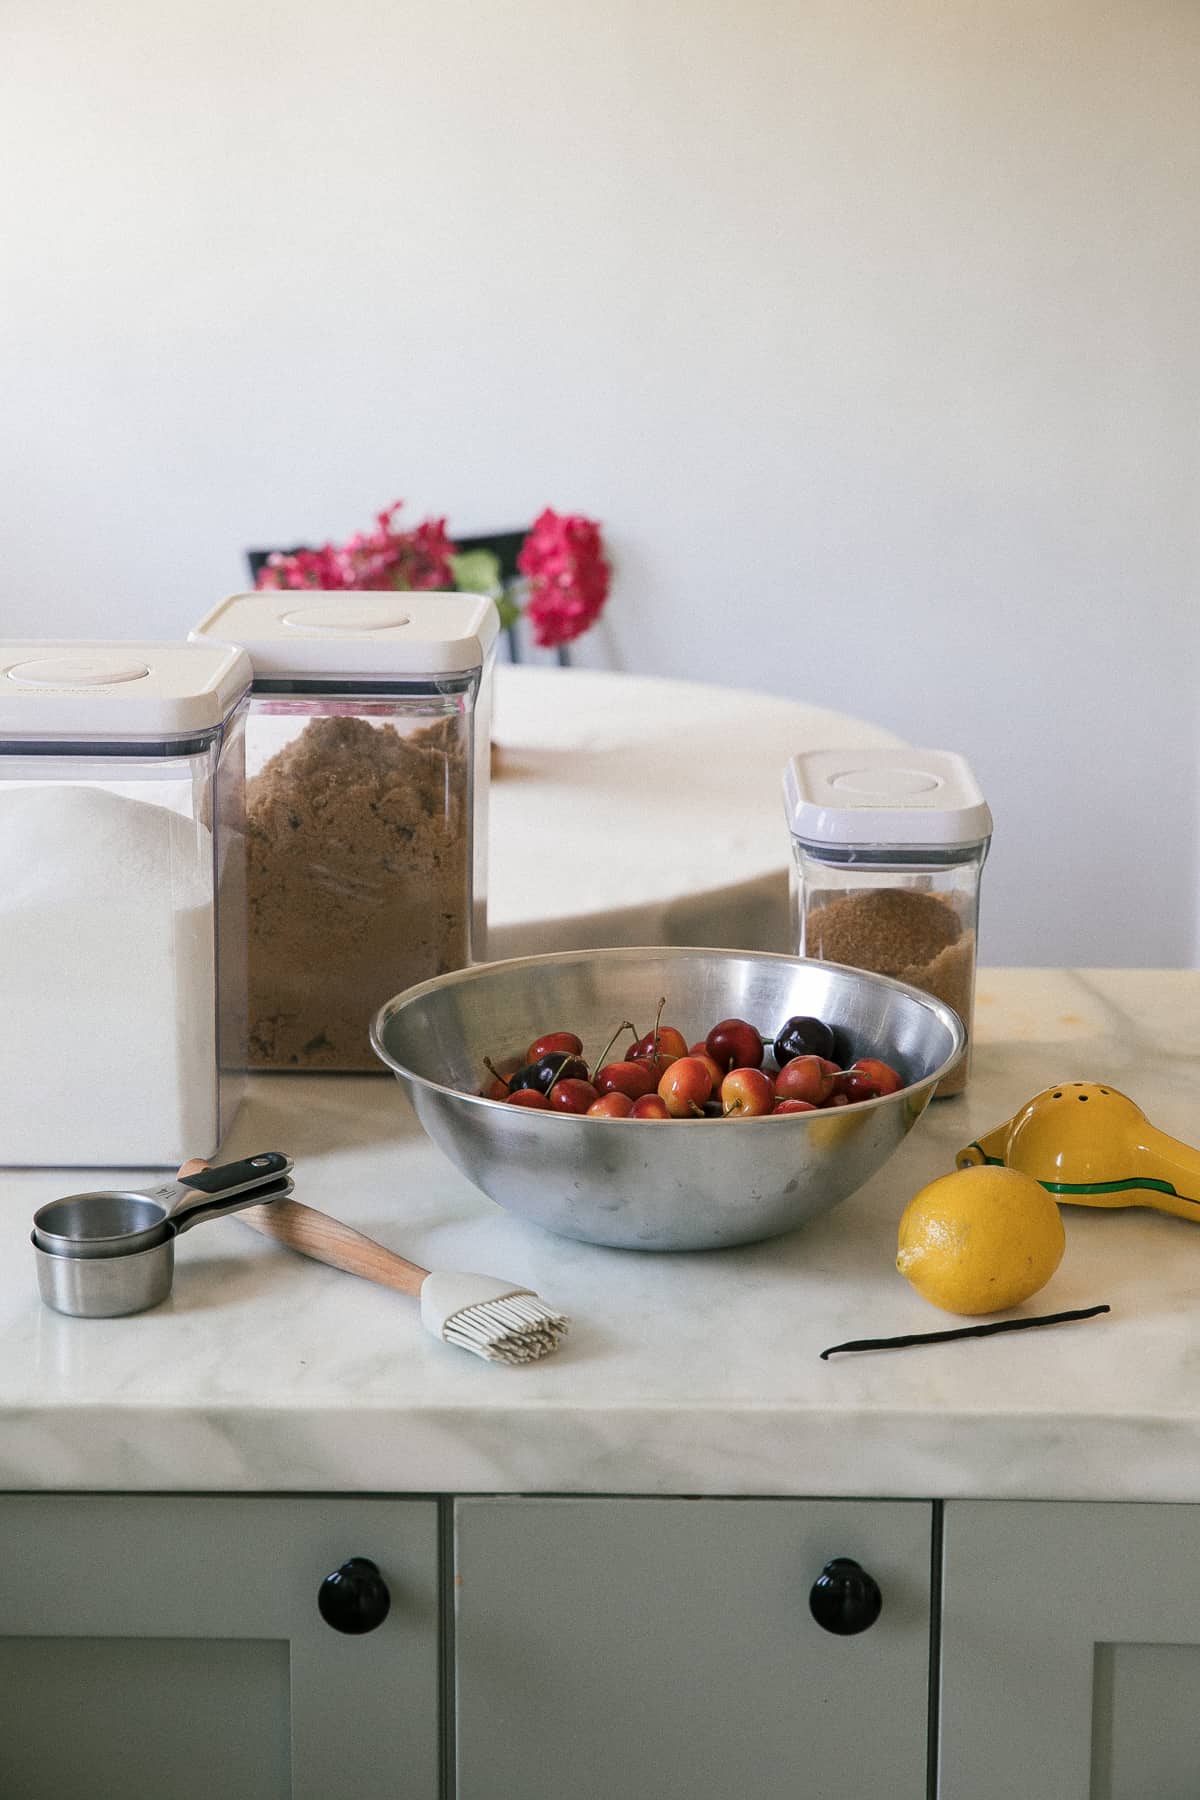
- Cherries – Of course! Really fresh, ripe cherries will taste the best!
- Corn starch – This will thicken the cherry filling so its not too juicy.
- Whole vanilla bean – Adds incredible flavor to the cherry pie filling. If you don’t have the pod use vanilla bean paste or pure vanilla extract instead!
- Pie crust – Make the crust from scratch the night before or use 2 store-bought pie crusts.
For the rest of the ingredients, please refer to the recipe index card below!
How To Make This Classic Cherry Pie:
- Make your pie crust. Let it rest overnight to make sure it all comes together nicely.
- Pit all your cherries. Invest in a cherry pitter to make your life easier. You can use it for olives too!
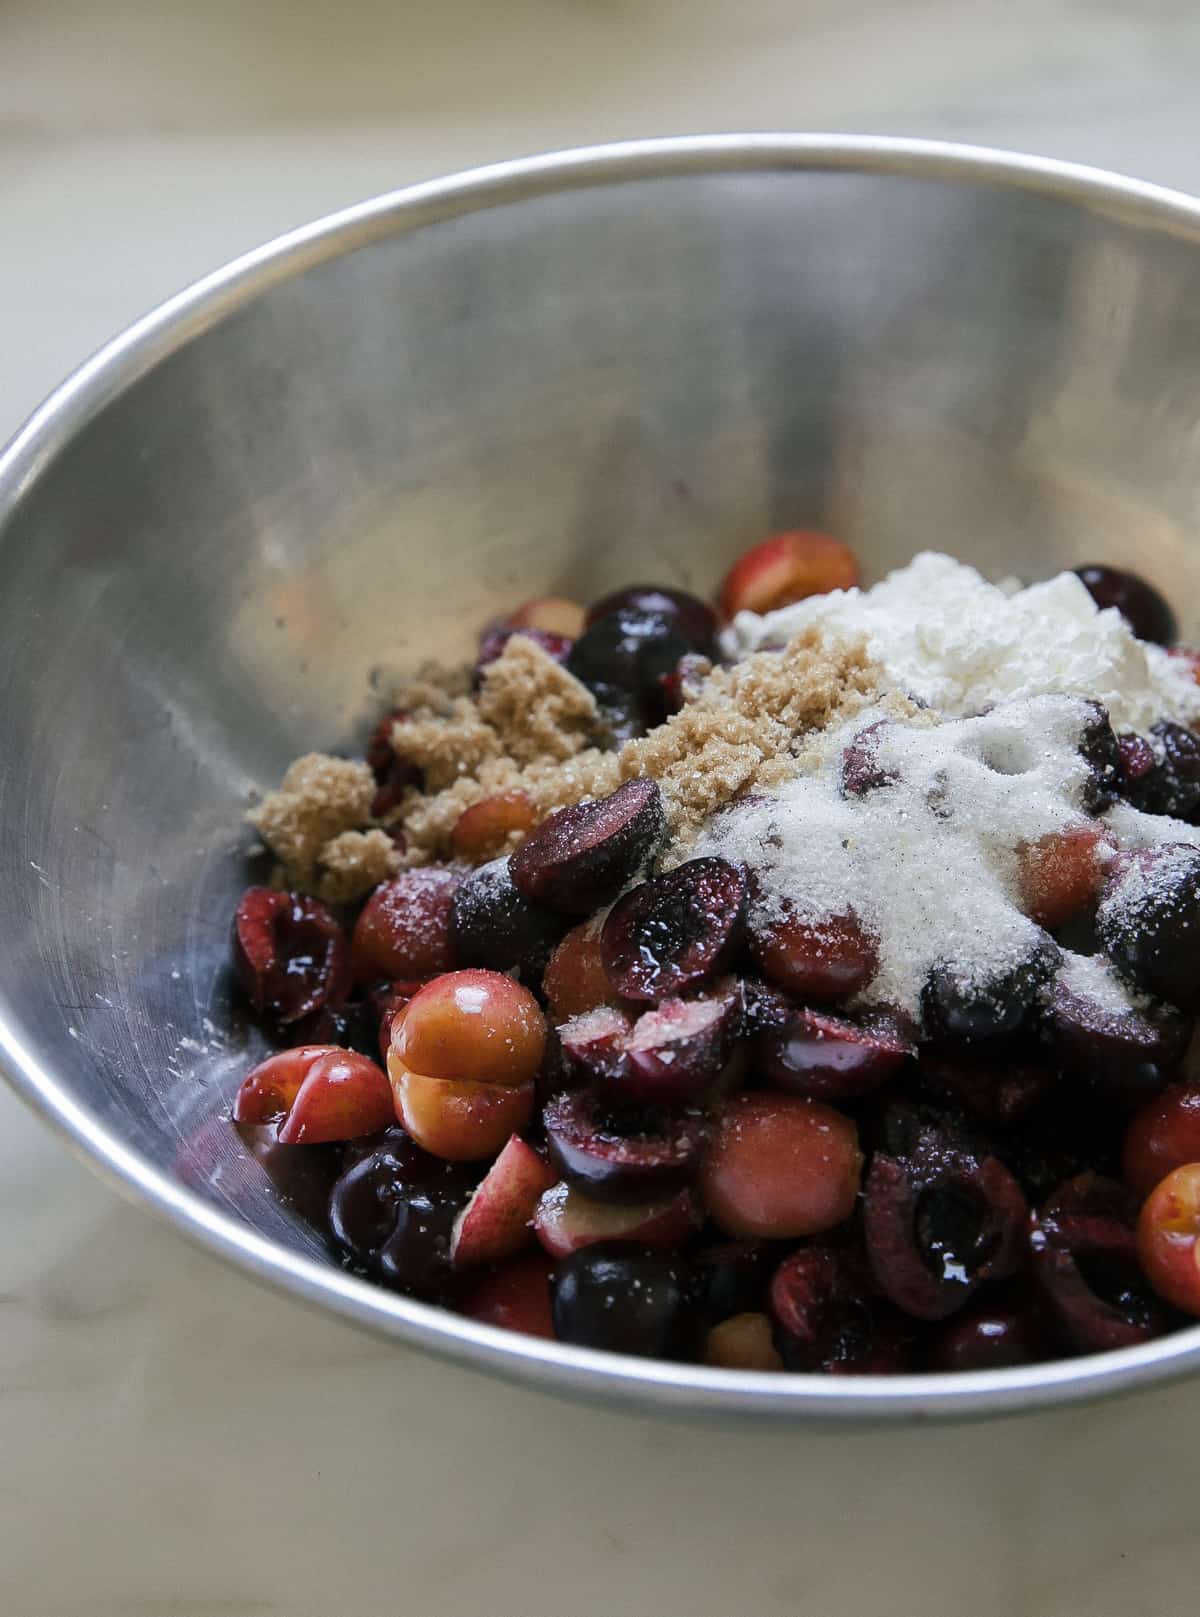
- Toss together the cherry pie filling. I really like the combination of brown sugar AND white sugar. I also mixed a vanilla bean into the white sugar to add a bit of pizazz! Lemon gives the filling a bit of brightness too.
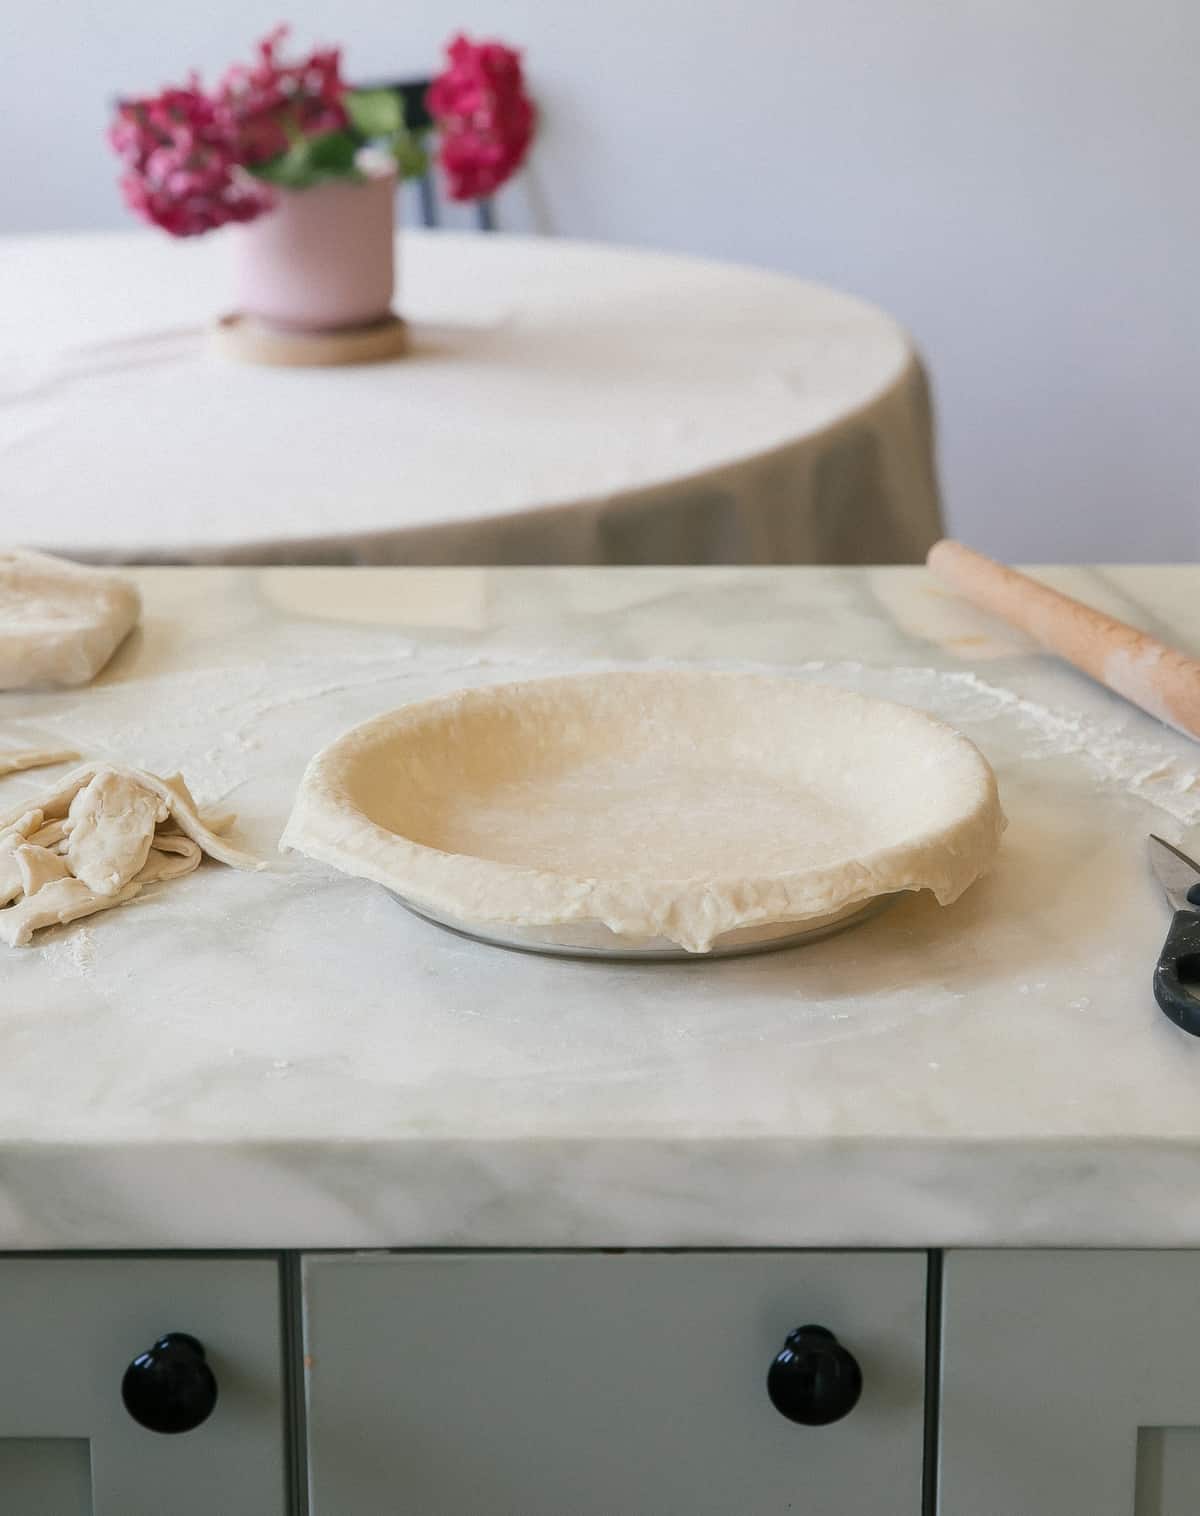
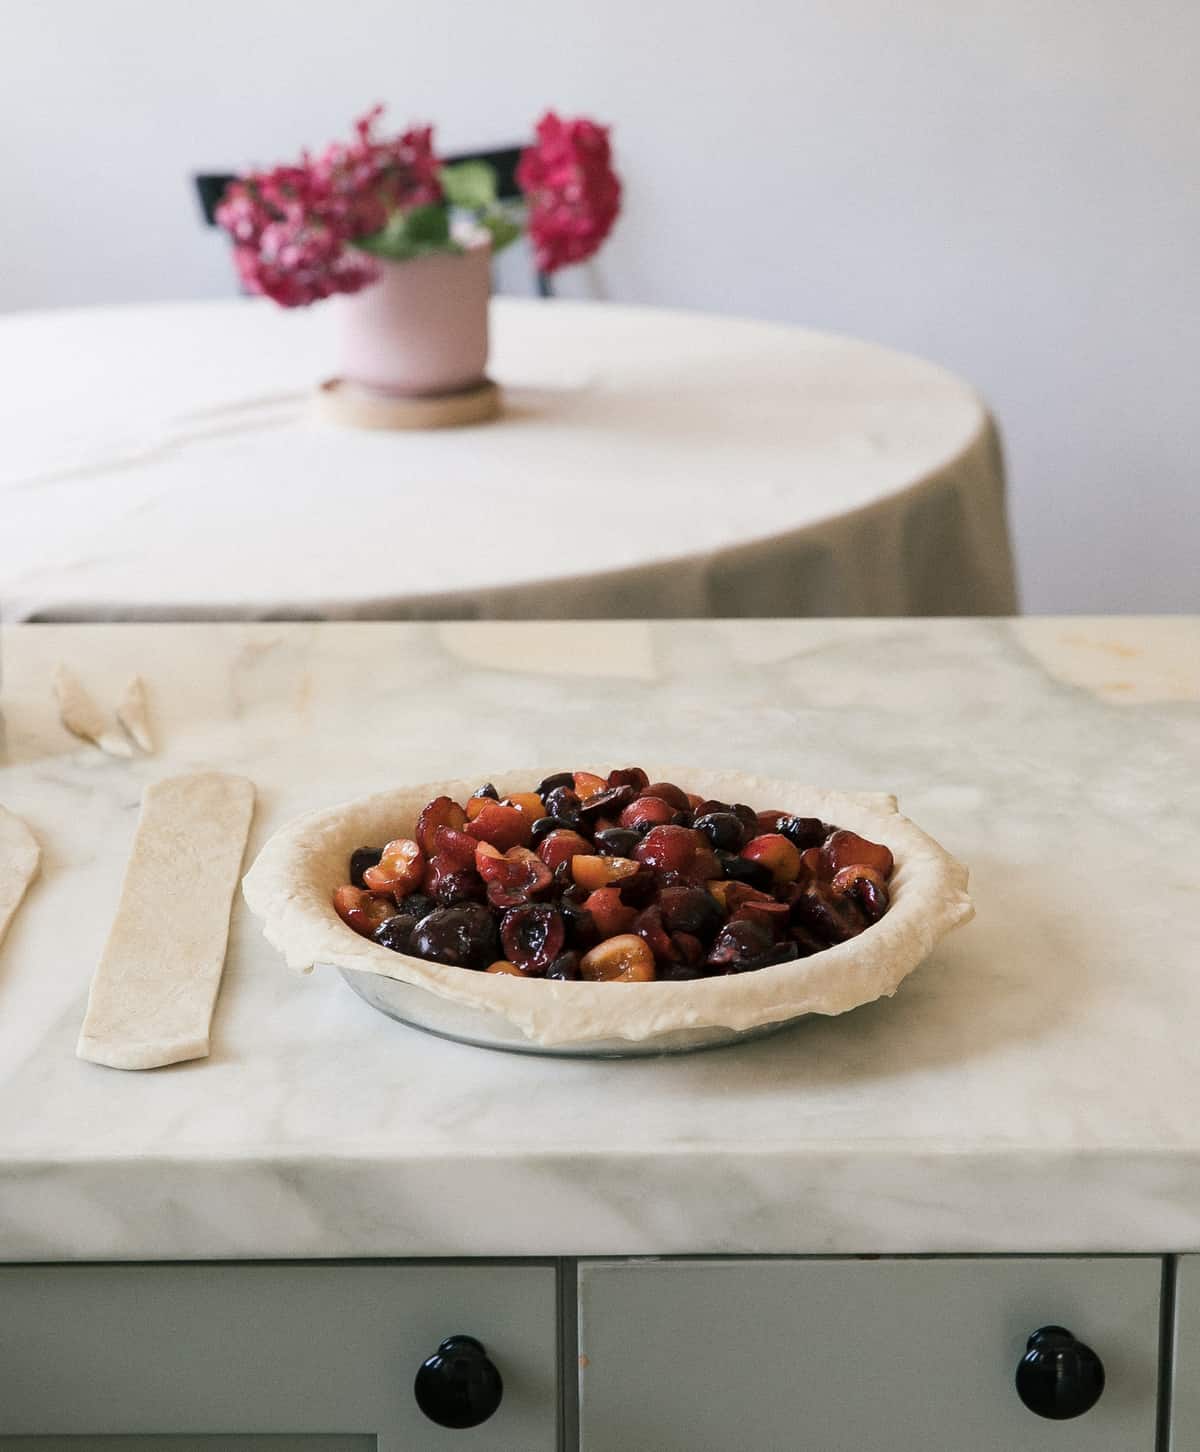
- Prepare your pie crust. Roll out the pie crust, line the pie dish and then fill it with the cherry filling.
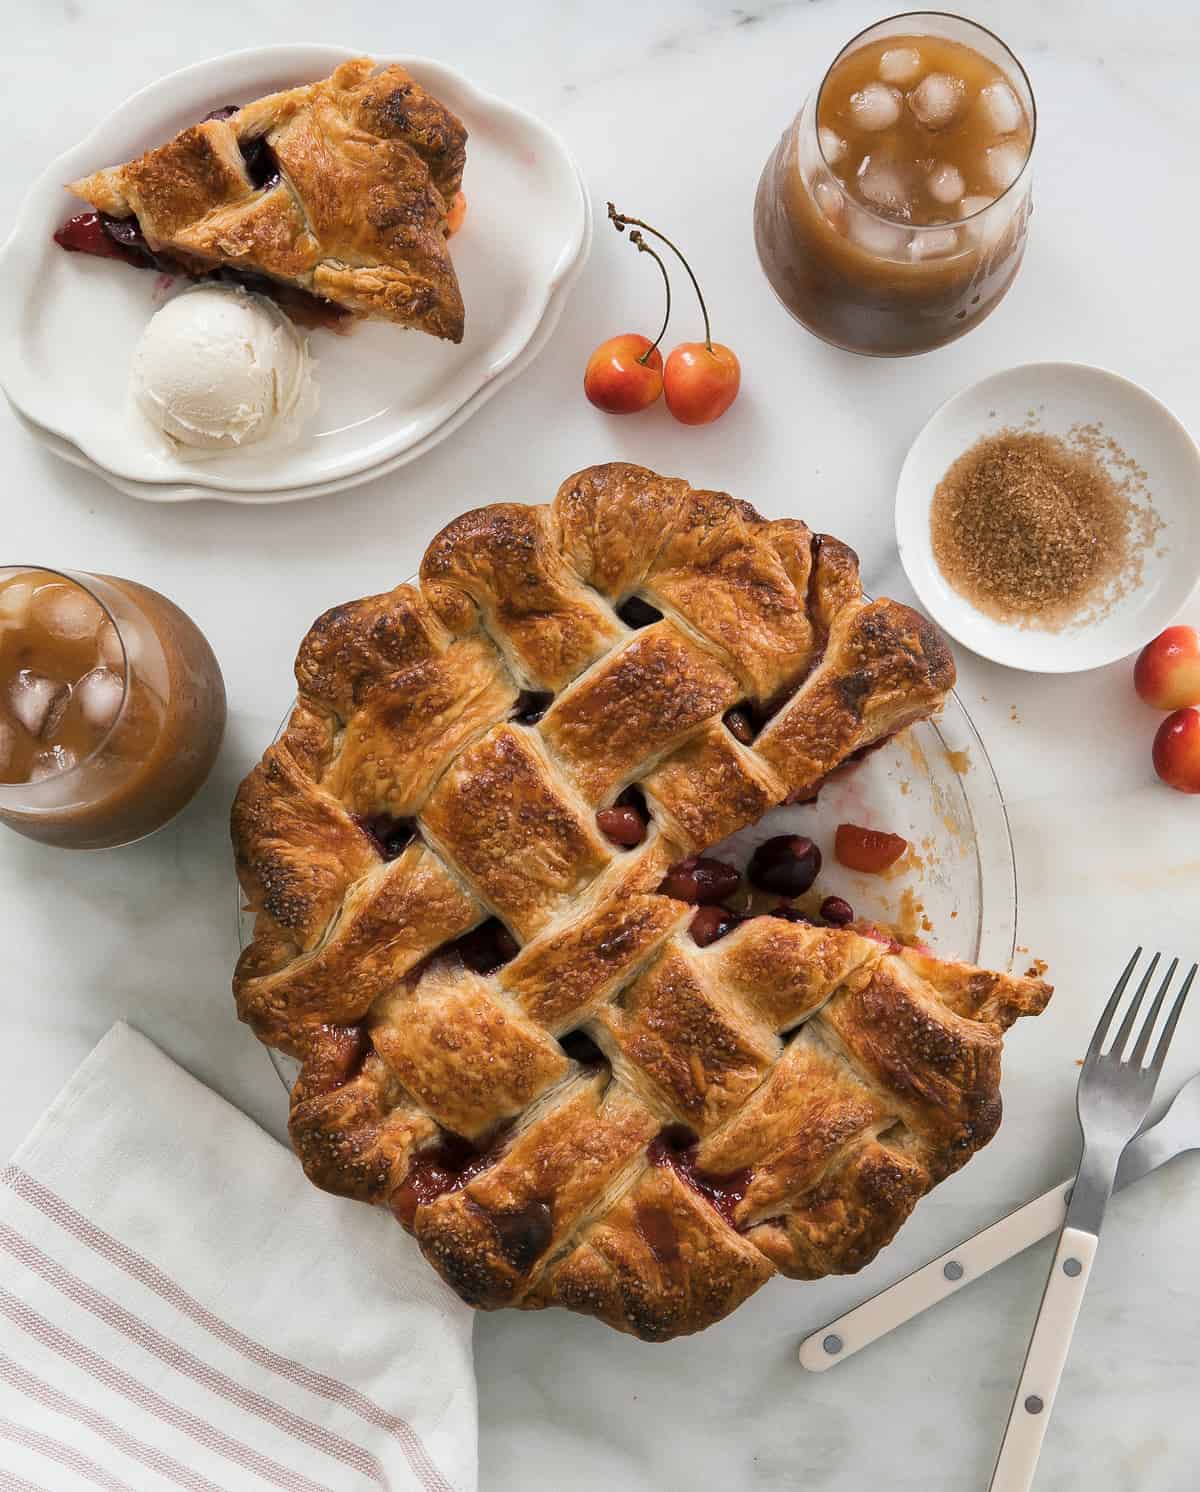
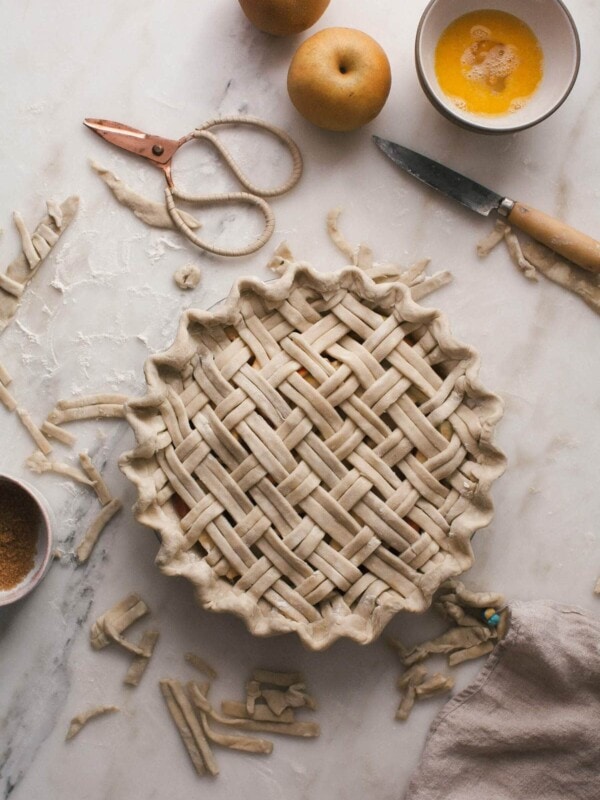
- Roll out the top layer. And create a lattice if you like. Or just make a top with a few cuts into the top to allow steam to escape.
- Freeze the whole pie for 15 minutes. I like to do this to ensure a flaky crust.
- Bake! I bake it at a couple different temperatures! As a result, the bottom crust isn’t soggy and you have a solid pie!
- Cool and Serve, with vanilla ice cream.
Tips and Tricks
- I always make the pie crust the night before. This breaks up some of the work and the next morning you can just throw together the filling ingredients and spend time making a pretty crust, if you’re into that sort of thing.
- If you need any help with making this pie crust check out my Homemade Pie Crust Guide, it goes over everything you need know!
- Buy a cherry pitter! Do yourself a favor and invest in a cherry pitter. If you buy a cheap one, you’ll buy it twice. Trust me from experience!
- Egg wash is important. You want that golden brown crust!
- Embrace all the cherries. If your cherries are a lil’ soft or not exactly perfect, that’s ok!
Secrets to Perfect Pie Crust
- My go-to move is to make the pie crust the night before. I love doing this because it splits up the work, which makes the entire pie-making experience easier. But it also allows the gluten in the pie crust to relax; this results in an easier pie crust to roll out and prohibits shrinkage in the oven.
- Grate the butter using a cheese box grater. I find that this just makes the butter so much easier to work with. I like to chill the butter in the freezer right after I grate it. And right before I mix it throughout the flour mixture.
- Using the right amount of water. I use more water than most (I think). I pour in 1/2 cup of water and mix it IN the bowl. And then add a few more splashes water until it begins to come together.
- Fold it into an envelope. I learned this from Erin McDowell, by the way. Shout out to her! But this really creates lovely layers in the pie. I like to fold it into a letter a few times.
Recipe FAQs
There’s no need! In this recipe the pie bakes at two different temperatures to make sure the bottom crust is solid and not soggy!
By mixing cornstarch with the filling ingredients. The starch will thicken up the cherry juices as it bakes so that it’s syrupy and not runny!
More Pie Recipes
If you tried this Classic Cherry Pie Recipe or any other recipe on my website, please leave a 🌟 star rating and let me know how it went in the 📝 comments below. Thanks for visiting!
Classic Cherry Pie Recipe

Equipment
- 1 Cherry pitter
- 1 Large mixing bowl
- 1 9-inch pie dish
Ingredients
Pie Crust:
- 3 cups all-purpose flour
- 3 tablespoons granulated sugar
- 2 teaspoons kosher salt
- 1 1/4 cup unsalted butter, cold and straight from the fridge
- 1/2-3/4 cups cold water
Cherry Pie Filling:
- 1/4 cup white sugar
- 1 whole vanilla bean, (or 2 teaspoons vanilla extract)
- 2 pounds cherries, pitted and halved
- 1/4 cup dark or light brown sugar
- 1/4 cup corn starch
- 1 tablespoon lemon juice, (from 1/2 lemon)
- 1/4 teaspoon kosher salt
Instructions
To Make the Pie Crust:
- In a large bowl, mix together the flour, sugar and salt. Using a box grater, grate the cold butter atop the flour mixture. Transfer to the freezer to chill for 10 minutes. Working quickly, and using your hands, break the butter bits into the flour until they’re evenly distributed and resemble the size of teeny, small peas.
- Add a 50% of the recommended water and mix.The mixture will be shaggy at this point. From here, add 1 tablespoon of water at a time until the dough comes together. Flour your counter and dump the dough onto it. Knead a few times more until it comes together into one cohesive mass. Divide the dough, forming two discs. Wrap the discs in plastic wrap and transfer to the refrigerator to chill for at least 2 hours, ideally overnight.
To Make the Pie Filling:
- In a medium bowl, combine the sugar and vanilla bean. Mix it together until the vanilla bean is mixed throughout the sugar. (If you're not using the vanilla bean, just continue with the recipe and add the vanilla extract when you add the lemon juice.)
- Add the pitted and halved cherries, along with the brown sugar, corn starch, lemon juice and salt. And then give it a stir. Set it aside while you roll out the pie crust.
To Assemble the Pie:
- Remove the first disc of dough from the refrigerator and allow to come to room temperature for about 5 minutes. Liberally flour your work surface and rolling pin. Begin to roll the dough, being sure to rotate it every so often to avoid sticking, to a 13-inch round. Wrap the dough around the rolling pin and unroll it over the pie dish. Gently fit the dough into the bottom and up the sides of the pie tin. Trim the dough around the pie tin, leaving about a 1/2-inch overhang. Recombine the scraps and set them aside. We’ll use them for the lattice.
- Transfer the pie shell to the refrigerator while you roll out the second disc. Remove the second disc from the fridge and repeat the rolling process. Using a knife, cut the dough into 3-inch strips. I cut as many 3-inch strips as I can. Reroll the scraps you have set aside, too, you’ll need all of the pie dough. (If at any time your pie dough becomes too soft, transfer to a cutting board and put in the fridge to chill so it’s easier to work with.) Fill your pie shell with the cherry filling.
- Lay out 5 strips of pie dough on top of the filling, leaving about 1/2-inch of space in between them. Lay the remainder of your strips running perpendicular. This will give you a good idea of how it will go. Next, fold back every strip. Start one at the top, running horizontally. and weave it under and over, rotating, each strip running vertically. Repeat this process until you’ve worked your way through every strip. If my directions are confusing, go to Youtube. The videos on there are super easy to follow. Much easier than written instructions! Trim the edges of the strips, being sure to leave about 1-inch overhand.
- Going all the way around, tuck the edges under. To make a pronounced crimp, like you see pictured, set your thumb on the outside edge of the crust. With your opposite pointer and thumb fingers, create a v, and push the two together. Repeat this process all the way around the pie crust. Transfer to the freezer to chill for 15-30 minutes.
To Bake the Pie:
- Meanwhile, preheat the oven to 400 degrees F. Brush the entire pie, liberally, with egg wash and sprinkle with turbinado sugar.Transfer the pie to a baking sheet and place in the oven to for 20 to 25 minutes, until the edges are just lightly brown. Turn the heat down to 350 degrees F and bake for another 40 to 45 minutes, until the edges and top are deep golden brown. Be sure to check on it intermittently, if at any time the pie crust begins to turn too dark, use foil to cover those areas to stop browning.
- Allow to cool for 2 to 3 hours for neat slices. For loosey-goosey warm pie, serve right away. Serve with ice cream or a dollop of whipped cream.
Notes
Tips and Tricks
- I always make the pie crust the night before. This breaks up some of the work and the next morning you can just throw together the filling ingredients and spend time making a pretty crust, if you’re into that sort of thing.
- If you need any help with making this pie crust check out my Homemade Pie Crust Guide, it goes over everything you need know!
- Buy a cherry pitter! Do yourself a favor and invest in a cherry pitter. If you buy a cheap one, you’ll buy it twice. Trust me from experience!
- Egg wash is important. You want that golden brown crust!
- Embrace all the cherries. If your cherries are a lil’ soft or not exactly perfect, that’s ok!
Nutrition
Nutrition information is automatically calculated, so should only be used as an approximation.


Just made this (with blueberries instead of cherries) and it was SO GOOD! By far the best pie I’ve ever made. The crust was easy to work with and had such good flavor – perfectly flaky. This recipe’s a keeper for sure!
hey – I believe the egg wash is not among the ingredients 😉 Thank you for the lovely recipe!!